
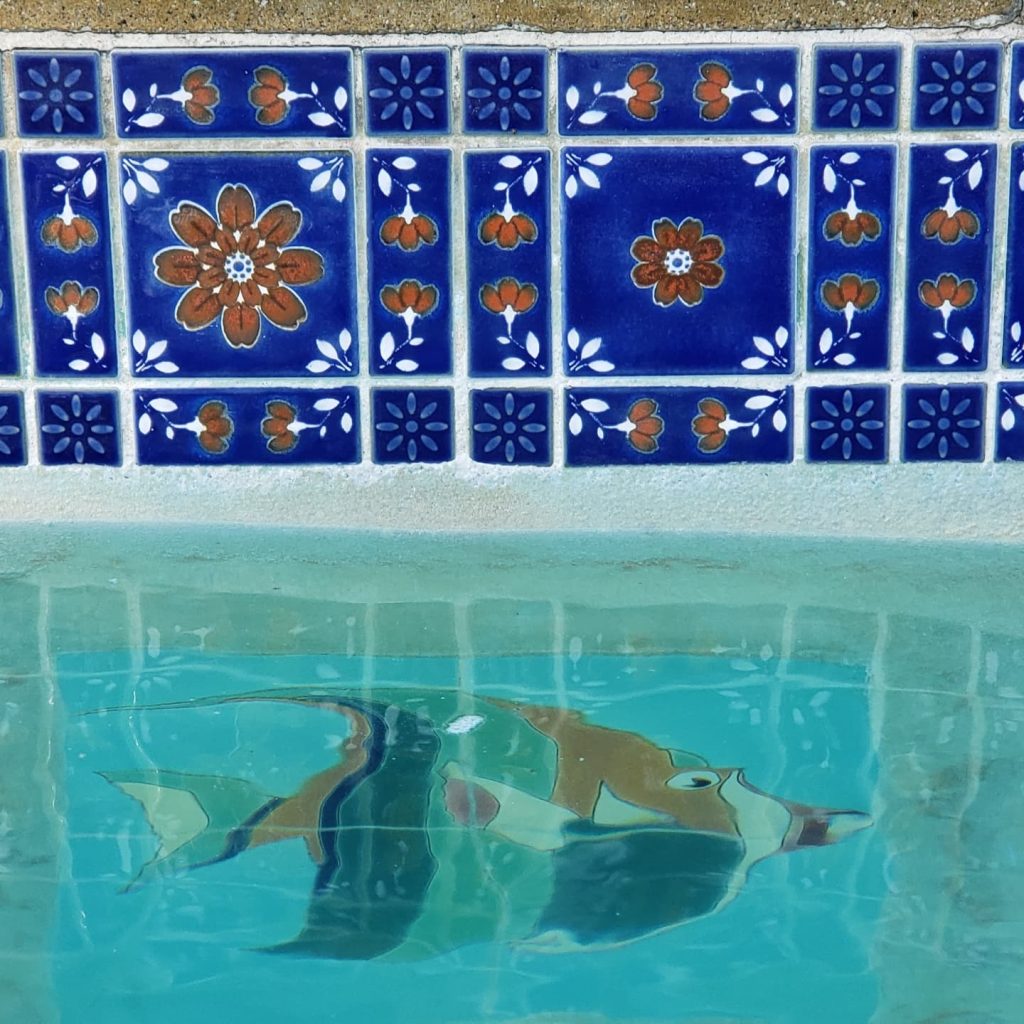
Picture this: a shimmering oasis in your backyard, where crystal-clear water glistens under the sun. Your pool becomes the envy of the neighborhood, radiating elegance and luxury. The secret behind this captivating beauty lies in the integrity of your pool tiles. However, if you’re facing pool tile problems, these imperfections can quickly detract from the overall appeal, causing your once-perfect pool to lose its charm.
However, as time passes, pool tiles can face a multitude of challenges, threatening to dull their shine and mar their allure. Loose tiles, cracks, chips, and fading colors become the adversaries of perfection. That’s why it’s crucial for every pool owner to grasp the common pool tile problems and master the art of troubleshooting and repair.
Armed with this knowledge, you’ll be equipped to take charge of your pool’s destiny. From repairing loose tiles and banishing cracks to reviving the brilliance of faded tiles, we have the answers you seek, including tackling common pool tile problems.
But we won’t stop there! Prevention is the key to lasting beauty. We’ll also share valuable tips to shield your tiles from future woes, ensuring your pool remains a breathtaking masterpiece for years to come.
We have a complete guide to pool tile maintenance, but this blog blends all the essentials we have from our years of experience.
Identifying Common Pool Tile Problems
1. Loose or Detached Tiles
As you use your pool, keep an eye out for peculiar gaps or listen attentively for a hollow echo when tapping a tile. These subtle hints indicate that a tile has broken free from its cozy spot, which could be one of the common pool tile problems. You might need to replace the tiles or reattach them with a strong adhesive.
2. Cracked or Chipped Tiles
These can let water seep behind the tiles and damage the grout or the plaster. If you see any cracks or chips, you should fix them as soon as possible.
3. Faded or Discolored Tiles
These can indicate algae growth, mineral deposits, or chemical imbalance in your pool water. Pool tile problems like these can make your pool look unattractive and lead to long-term damage if left untreated. You should clean your tiles regularly and test your water quality to prevent these issues.
Before you begin, see our compilation of 7 tips to make pool cleaning easy and quick.
Repairing Pool Tile Problems
Tools and Materials Needed
Before embarking on the journey of restoration, gather all the essential items that will help you in your mission to rejuvenate the beauty of your pool.
1. Safety First
Ensure your safety by wearing gloves, safety goggles, and a dust mask to create a secure working environment.
2. Tile Adhesive and Grout
Use high-quality tile adhesive that’s designed for pools and is waterproof and durable for a long-lasting bond. Similarly, choose an appropriate grout to fill the gaps between tiles, enhancing their stability and aesthetics.
3. Trowel and Grout Float
A trowel helps spread the adhesive evenly, guaranteeing a secure attachment of replacement tiles. A grout float, on the other hand, assists in achieving seamless grout lines, giving a polished finish to your repair work.
4. Tile Cleaning Agents
Invest in specialized tile cleaning agents that are formulated for pool tiles. These solutions can help remove dirt, stains, and residue, giving your pool surface a new lease of life and preparing it for repairs or restoration.
Replacing Loose or Detached Tiles: Ensuring Stability
1. Remove the Damaged Tile
Carefully remove the loose or detached tile, taking care not to damage any neighboring tiles. If you’re dealing with pool tile problems, use a putty knife or a similar tool to gently lift and remove the tile. Clear any remaining adhesive from the surrounding area, ensuring a clean surface for the replacement.
2. Apply Tile Adhesive
Use a trowel to spread a thin, even layer of tile adhesive on the back of the replacement tile. Ensure complete coverage, paying attention to the edges and corners. Align the tile with precision, gently pressing it into place. Wipe away any excess adhesive that seeps out to avoid issues like pool tile problems later on.
3. Allow Time for Bonding
Patience is key as you allow the adhesive to cure. Follow the manufacturer’s instructions for the recommended curing time. This ensures a strong bond between the replacement tile and the pool surface, restoring stability and longevity, especially when dealing with common pool tile problems.
Repairing Cracked or Chipped Tiles
1. Prepare the Surface
Start by cleaning the cracked or chipped area with a suitable tile cleaning agent. Remove any dirt or debris that could hinder the repair process, especially when dealing with common pool tile problems. Thoroughly dry the area before proceeding.
2. Apply Epoxy or Filler
Mix the epoxy or filler according to the manufacturer’s instructions. Use a putty knife or a similar tool to carefully fill the crack or chip, ensuring a smooth and level surface. Remove any excess material and allow it to cure fully.
3. Sand and Finish
Once the epoxy or filler has hardened, gently sand the repaired area using fine-grit sandpaper. This step helps achieve a seamless transition between the repaired spot and the surrounding tile. Wipe away any dust and clean the area, leaving it ready to showcase its renewed beauty.
Reviving Faded or Discolored Tiles: Brightening the Colors
1. Clean the Tiles
Use a specialized tile cleaning agent to thoroughly clean the faded or discolored tiles. Follow the instructions provided, ensuring that the cleaning agent is suitable for pool tiles. Scrub gently, removing any residue or impurities that have contributed to the dullness.
You can use household items too. Here’s how to do it.
2. Consider Color Enhancement
In more severe cases of fading or discoloration, explore the option of color enhancement products designed for pool tiles. These products can be applied to rejuvenate the vibrancy of your tiles, bringing back their original allure. Consult with experts or do thorough research to find the most suitable color enhancement solution for your specific tile type and desired outcome.
3. Seal and Protect
To safeguard the renewed beauty of your tiles, consider applying a sealant specifically designed for pool tiles. This additional layer of protection helps prevent future fading and discoloration, keeping your tiles looking stunning for years to come.
Preventing Future Pool Tile Problems
1. Clean Your Pool Regularly
Dirt and algae can stain your tiles and make them lose their shine. Use a pool brush and a tile cleaner to scrub away any dirt or grime.
2. Balance Your Pool Chemistry
Unbalanced water can cause scaling or etching on your tiles, which can damage them over time. Check your pH, alkalinity, calcium hardness, and chlorine levels regularly and adjust them as needed. Learn how to get your pH to the proper levels.
3. Seal Your Tiles
A good sealant can protect your tiles from water damage and make them easier to clean. Apply a sealant every few years or as recommended by the manufacturer.
4. Repair Any Cracks or Chips
If you notice any cracks or chips on your tiles, fix them as soon as possible. Cracks and chips can let water seep into the tile and cause more damage. Use a tile repair kit or call a professional to fix them.
Restore the Splendor of Your Pool With Professional Pool Tile Services
Don’t let dullness diminish the beauty of your oasis. Experience the transformative power of Specialty Aquatic Tile cleaning services.
Our team of skilled technicians is dedicated to bringing back the sparkle and shine to your tiles. With gentle yet effective cleaning techniques, we remove stubborn stains, mineral deposits, and grime that have tarnished the brilliance of your pool.
Don’t let your pool tiles fade into the background. Let our experts rejuvenate them, creating a stunning visual masterpiece that will leave you and your guests in awe.
Contact us today and let us transform your pool into a sparkling oasis of beauty and serenity!”