

Excellent question! Let’s take our time to answer it.
Summer’s here. You’re picturing yourself lounging by your beautiful swimming pool, a cool drink in hand, the sun sparkling on the water… and then bam. Your eyes land on that dingy tile line. Ugh.
Suddenly, the idyllic scene fades a little. The big question pops into your head: Can I clean my pool tile myself? Is it even worth trying? It’s tempting to grab a scrub brush and go at it, but there’s that nagging worry about making things worse, and potentially messing up the water level readings, or adding to an existing algae problem.
We get it. At Specialty Aquatic Tile Cleaners, we see this all the time. Homeowners want that pristine pool, but the reality of cleaning that buildup of organic material can be daunting. Let’s explore your options, and help you decide whether to tackle this yourself, or call in the cavalry.
Understanding the Enemy: What’s That Stuff on My Pool Tile?
Knowing your tile contaminants in advance makes your cleaning process more effective. The discolored white substance staining your pool tiles goes beyond ordinary “dirt.” The pool tile buildup primarily consists of multiple problematic substances.
- Calcium: Behaves similarly to shower stains, yet possesses an intensified magnitude. The most common tile contaminant is calcium carbonate, which functions as a mineral contaminant that sticks strongly to your waterline tiles. You’ll find it as a white solid material.
- Body Soil: When we swim in the pool, our bodies leave behind residues known as body soil. Prolonged exposure to body products like sunscreen, along with sweat and lotion particles, results in the grimy buildup.
- Pool Debris: The tile line suffers most from pool debris accumulation because leaves, dust, twigs, and other organic matter permeate your swimming space.
- Algae: Tiny organisms that can make themselves at home and add a lovely film to your previously clean pool tile.
- Scum and Grime: All the above, in a glazy, sticky cocktail.
Location Matters
You’ll notice most of this buildup happens right at the waterline. That’s because the constant wetting and drying creates the perfect environment for these things to accumulate. And don’t forget the grout – those little crevices are like five-star hotels for dirt and algae. It is also important to consider buildup below the waterline, as this cleaning may require different approaches.
Knowing your enemy is half the battle! Now, let’s talk about how to fight back.
DIY Cleaning Arsenal: Tools and Cleaners
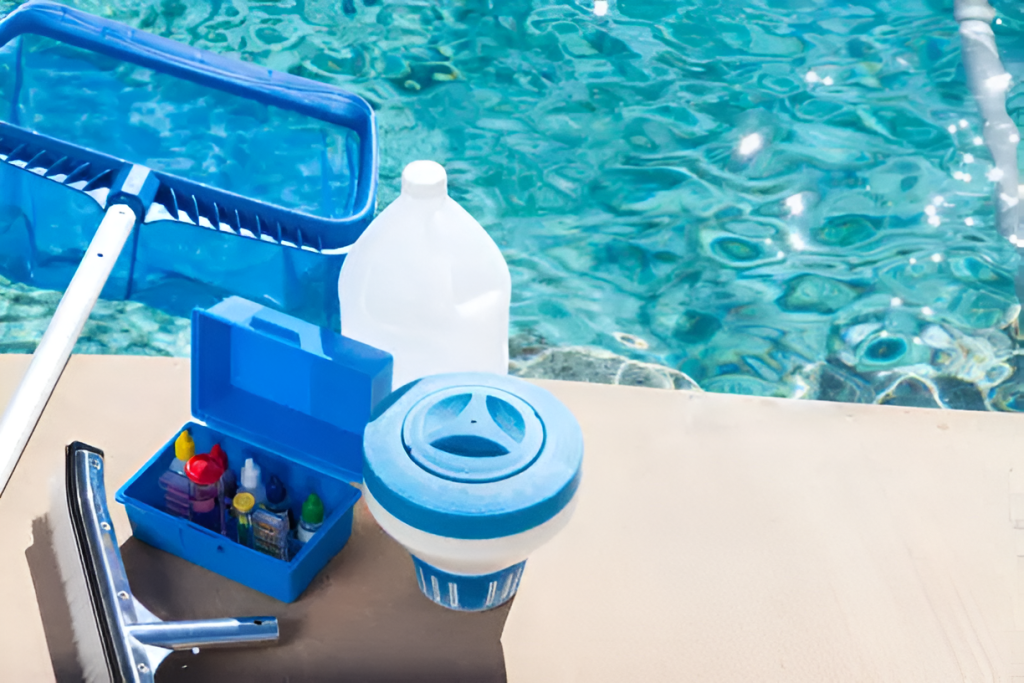
Your commitment to tile cleaning work has been confirmed. Below is a compilation of everyday tools available to you for maintaining clean pool tile, which range from mild to strong cleaners:
A. The Gentle Giants: Natural Cleaners & Basic Tools
- Vinegar: Good old white vinegar! Due to its mild acidity, it effectively removes minor mineral deposits and light surface marks from tiles. White vinegar serves as your initial asset in tackling light tile cleaning.
- Baking soda: Baking soda is a soft, abrasive material found in kitchens, suitable for delicate cleaning. Create a soft scrubbing paste using a small amount of water.
- Nylon brush or scrub brush: The key attribute of a nylon or scrub brush is that it should be non-abrasive. The objective is to clean without causing scratches. Your cleaning effort will benefit from using a brush with soft bristles.
- Melamine sponges: This tool works as an amazing stain-eliminating material, almost like magic.
- Cleaning solution: A gallon of water mixed with your selected natural cleaning solution, such as vinegar, constitutes an effective cleaning mixture.
B. Stepping It Up: Commercial Tile Cleaners
- Tile cleaner: If the natural methods do not succeed, it is time to visit the store. Specific pool tile cleaners, available at retail outlets, will effectively eliminate the types of debris mentioned earlier. A selection of quality cleaning supplies is available in your area’s home improvement stores.
C. The Heavy Hitters (Handle with Extreme Care!)
- Pumice stone: Pumice stone is a volcanic rock substance that has a rough texture, giving it abrasive qualities. Tough calcium buildup can be treated with this method, yet extreme caution must be exercised due to the high risk of scratching, especially on glass tiles. Always test on a protected, small area first.
- Muriatic acid: Muriatic Acid is an absolute last-resort chemical. Using muriatic acid on tiles is dangerous because it can dissolve all substances, and also poses a major risk of removing materials you do not wish to remove. Necessary safety equipment includes wearing gloves and goggles to protect yourself completely. Thorough ventilation is also a requirement.
- Sulfamic acid: Sulfamic acid provides an effective, yet safer, alternative to Muriatic Acid for those who find pumice treatment insufficient.
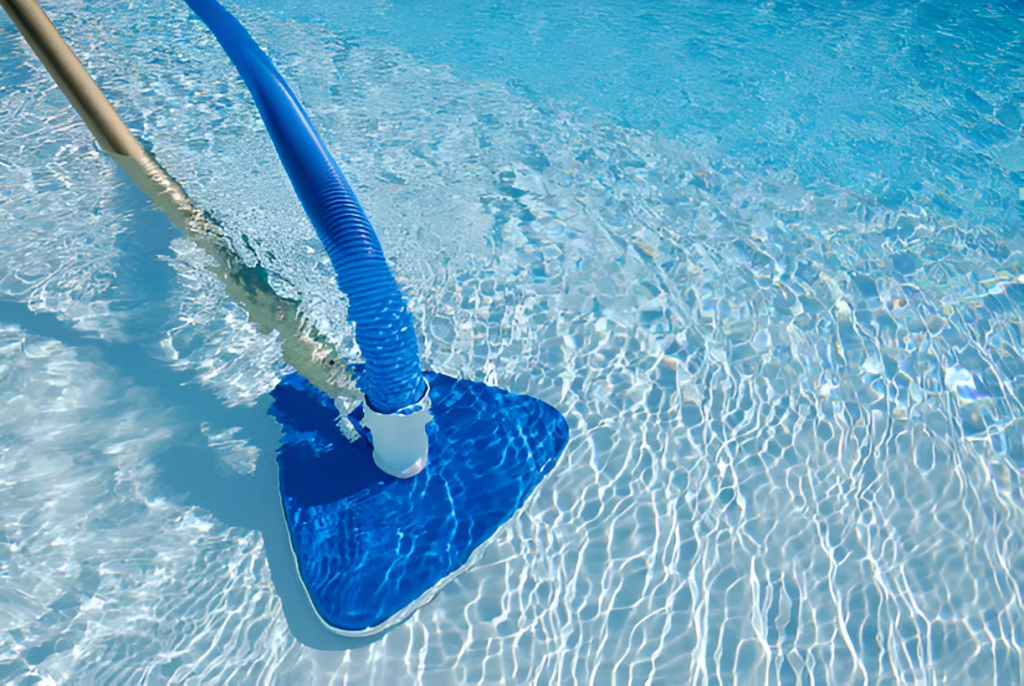
D. Pool Equipment
- Pool vacuum: This won’t clean the tile, but it can keep the pool free from debris that can cause innacurate water level readings.
Before you go full-on commando with any of these, remember: start gentle. You can always increase the power, but you can’t undo a scratch!
The DIY Cleaning Process: Step-by-Step
Ready to get your hands dirty? Here’s a basic game plan for tackling that pool tile:
1. Prep Work is Key
- Lower the Water: You’ll want to drop the water level just a bit to expose the entire tile line you’re working on.
- Gather Your Supplies: Get your chosen cleaners, brushes, gloves, safety glasses (if needed), and a bucket of clean water for rinsing.
2. The Cleaning Process
- Start Gentle: Begin with your mildest cleaning solution (like a diluted mixture of white vinegar and water) and your nylon brush. Avoid harsh chemicals initially to protect the tile’s finish.
- Apply & Wait: Apply the cleaning solution to the tile and let it sit for a few minutes (always check product instructions for specific “dwell times”). This crucial waiting period allows the cleaner to penetrate and loosen the grime.
- Scrub-a-dub: Use a circular scrubbing motion with your nylon brush. This circular action helps to lift the dirt and grime effectively without creating streaks or damaging the tile surface.
- Rinse & Repeat: Rinse the area thoroughly with clean water, removing all traces of the cleaning solution. If the stain persists, repeat the process, allowing for the appropriate dwell time again.
- Step It Up (If Needed): If the gentle approach isn’t powerful enough, carefully move to a slightly stronger cleaner (always following product instructions) or, for very gentle scrubbing of hard water stains on durable tiles, a moistened pumice stone (remembering to test any new method in a hidden, inconspicuous spot first!).
- Calcium Combat: For stubborn calcium buildup (often appearing as a white, chalky film), consider a specialized calcium releaser product. These are specifically designed to dissolve calcium deposits and help prevent future buildup.
- Grout: Don’t forget about the grout! Grout is porous and can easily trap dirt and stains. You may need a specialized grout cleaner and a narrow brush for the best results.
Follow these steps, and you’ll be well on your way to a cleaner pool. But…
When to Call in the Pros (And Why It’s Worth It)
Cleaning pool tile can be a surprisingly tough, time-consuming job. And sometimes, despite your best efforts, you might hit a wall. Here’s when it might be time to wave the white flag:
The DIY Limits
- Time trunch: Pool tile cleaning is often more work than it looks. If you’re short on time, DIY might not be the best option.
- Scratch that: Aggressive scrubbing, especially with a pumice stone, can easily lead to permanent damage. Glass tiles are particularly vulnerable.
- Stubborn stains: Some stains and buildup, especially heavy calcium, just laugh in the face of DIY methods.
- Big jobs: If it is more than just small areas, you may want to leave it to professionals.
The Specialty Aquatic Tile Cleaners Advantage
That’s where we come in. At Specialty Aquatic Tile Cleaners, we’re not just scrubbing tiles – we’re restoring your pool’s sparkle. We bring:
- Expert Know-How: We’ve seen it all – from delicate glass tiles to sturdy ceramic, and even unique stone finishes. We know which cleaning solution and technique will get the best results without causing damage, and how to properly care for grout.
- Pro-Grade Power: Forget the basic store-bought stuff. We utilize specialized pool equipment and industrial-strength cleaners, including carefully formulated calcium releasers, that are both powerful and safe for your pool environment. These are not available to the general public.
- Speed & Efficiency: We know your time is valuable. Our team works quickly and methodically, using proven techniques to get your pool tile cleaning done right the first time, so you spend less time cleaning and more time swimming.
- Safety First: We’re trained professionals. We understand the proper handling and application of even the most powerful cleaners, like muriatic acid or sulfamic acid, ensuring the safety of your pool, your family, and our team. We also take precautions to protect surrounding landscaping.
- Long-Lasting Results: A professional clean goes deeper than just surface scrubbing. We remove the embedded grime and help prevent future buildup, meaning your pool stays cleaner for longer, saving you effort in the long run. We take extra care in the waterline.
Ready to ditch the scrub brush and reclaim your weekend? Give Specialty Aquatic Tile Cleaners a call for a free consultation. We’ll take the hassle out of pool tile cleaning, leaving you with a sparkling clean pool you can be proud of!
Enjoy Your Clean Pool!
So, there you have it – the lowdown on cleaning your pool tile. You’ve got the DIY options, from gentle vinegar scrubs to the more heavy-duty approaches. And you know when it might be time to call in the reinforcements (that’s us!).
Ultimately, the choice is yours. But no matter how you get there, the reward is the same: a beautifully clean pool tile, ready for those sunny days and refreshing dips. And, a clean pool is a healthy, and enjoyable, pool.
Here’s to a sparkling swimming season!